Information about how to grow ordinary beans will not surprise any summer resident, which cannot be said about asparagus beans, which is only gaining popularity and is beginning to occupy its place in the gardens of Eastern Europeans. Therefore, let's understand how to plant asparagus beans in the ground, what care should be taken and how to protect it from pests.
Choosing a landing site
Asparagus beans are very selective in their growth. From the correct choice of place depends on the speed of plant development, as well as the number of fruits that it will give.
Lighting
These beans love the heat and the sun, so you need to make sure that the plant does not shade anything at all stages of its growth. It is also desirable that the site had less wind. You should not worry about the fact that the culture will burn in the open sun - its leaves will independently create a shadow where they need it. 
The soil
Better these beans will feel on fertile and easily permeable water soil. Well, if the groundwater will lie deep. Unfavorable soil for this plant is considered acidic, clay, too wet ground.
Important! Do not choose a soil rich in nitrogen for beans, as it produces it on its own. Nonsaturation can ruin the plant.
If the plot is located in the northern region, it is best to choose sandy soil for the beans. This type of land warms up faster than the others, which will benefit the heat-loving plant. 
Predecessors
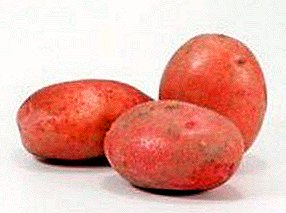
Best of all, the beans take root and fruits in places where cruciferous or solanaceous trees grew. These include:
- potatoes;
- cabbage;
- eggplant;
- tomato and others.
Preparation of beds
Preparing the soil for planting these beans begins in the fall. The earth is thoroughly cleaned of weeds, dug up, and then, in order to create ideal conditions for planting a plant, add to it per each square meter:
- 4 kg of humus;
- spoon of saltpeter;
- a spoonful of potassium chloride;
- a few spoons of dolomite flour;
- spoon superphosphate.

Important! Before sowing, it is necessary to disinfect the soil with a weak solution of potassium permanganate.
Seed preparation
There are several possible options for preparing seeds for planting:
- landing in a well-watered land;
- pre-soak;
- preliminary germination of seeds.
Shoots appear faster if you pre-soak the seeds. To do this, pour the seeds with hot water for 15 minutes. After that, it is imperative to disinfect them in a solution of weak potassium permanganate.
Disinfection of soil and seeds is necessary to protect the still weak seedlings from insidious pests.
If you germinate beans previously, seedlings can be obtained even faster. To do this, you must inspect all the beans for the presence of mold, shriveling, damage, as well as to remove garbage.  All seeds that have been selected, you need to put a single layer on a damp cloth. Next, you need to take another same piece of fabric and put it on top. The top piece also need to wet. It is very important here - not to overdo it with water, otherwise the seeds will simply rot.
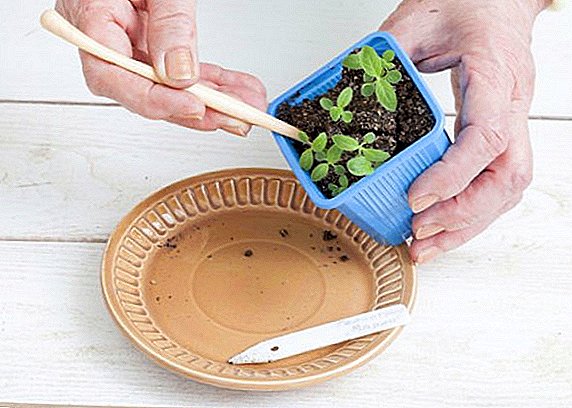
After 24 hours, opening the fabric, you can see that the beans have already started the first shoots. This means that the seeds are ready for planting. However, they will need to be planted very carefully, so as not to damage only the appeared sprouts.
Important! Each year, the beans are planted in another place to prevent plant disease by anthracnose.
Landing process: timing, pattern and depth
Planting asparagus beans in open ground is possible when the possibility of frost has already been excluded. Haricot beans are usually planted in May-June, but here everything depends only on temperature - it should be at least + 20 ° С.
First you need to prepare the pits. Their depth is from 4 to 6 cm. The distance between the holes in the row is preferably about 10 cm, and between the rows - from 30 cm.  If the beans are climbing varieties, the gap between the plants should be larger - 35-40 cm, so that there is room for installation support.
To give the plant more potassium, you can pour into the wells before planting wood ash. Usually, 3-4 beans are planted in one hole, and when shoots appear (after 7-10 days), they leave one of the strongest.
When the seeds are planted, they are watered, covered with soil. For quick germination, you can still sprinkle with humus on top.
Did you know? Silicon, which is found in asparagus beans, helps strengthen bones and connective tissue.
To save space when growing curly green beans, gardeners come up with some tricks. Some construct wigwams from tree branches and plant seeds around it.
Others sow the plant around a large, durable pole in a staggered order in several circles so that each sprout can “grab” the pole in its place.
Care Tips
Asparagus beans are not so whimsical in the care, like many other plants, however, to grow the desired crop, you will still have to give it a little time.
Watering
Growing asparagus beans from the seeds at the dacha, where the owner is once a week, is not possible, since this plant needs constant watering and care.
After planting, the beans are watered every other day. After the emergence of seedlings continue watering as the soil dries. It is best to water when the sun has set. Watering is carried out at the root.
Some gardeners use a plain useful solution for watering: fill 2/3 barrels with weeds, top up with water to the brim and leave for a week. For watering a liter of the solution is diluted in a bucket of rainwater or separated water.
Important! Watering for beans is extremely important: if the water is not enough, the stems will develop poorly, the fruits will become shallow and deform.
 After the first four leaves appear on the plant, watering is completely stopped before flowering. During the flowering period, watered again every other day.
Weeding and loosening
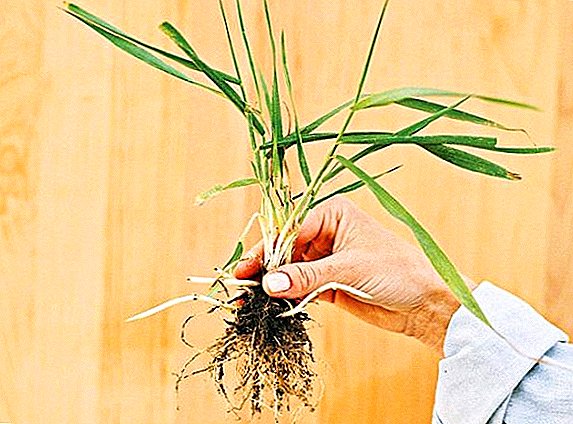
For better growth of the plant, it is necessary to weed regularly, which appear next to the beans. Until the plant has grown to 10 cm, it is necessary after each watering or rain to loosen the soil next to it. The first loosening is done when the sprouts have already reached a height of 7 cm.
Soil mulching
In order to facilitate the care of asparagus beans, the soil is mulched with straw. This will allow moisture to remain in the ground, as well as eliminate the possibility of weeds.
Support
If the asparagus beans are of a climbing variety, they need to be fixed to a tight vertical support. The height of such supports is usually about 1.5 m. A rope or wire is put on top of them, along which the shoots of the plant will later be sent.
When the shoots release a winding arrow, you need to send it to the support, and during the night it will already spin around a stick or pole.
Did you know? These beans are used for the prevention of cancer, as they contain a lot of vitamin A and are rich in important antioxidants.
 Gardeners do not recommend using a netting net for support, as dried shoots of plants in the fall will be very difficult to remove from it.
Pinching escape
When the beans grow to 10 cm, you need to spud them. This is necessary to strengthen the root system and improve the nutrition of the beans when the pods begin to tie.
When the plant growth will already be more than 2 m, it is recommended to pinch the tip so that it does not grow higher, and all the nutrients go into stimulation of good fruiting.
Top dressing
For dressings, cow manure is most often used. There are two ways to do this feeding:
- combine with watering (dissolve 1 to 10 humus in water);
- spread the manure on the mulch so that it rot.
At this point, the plant is fed with superphosphate in the amount of 40 g per square meter.
When the first buds appear, potassium salt is added to the soil - 10 g per square meter. When the fruit is already ripe, you can feed the soil with a solution of wood ash. 
Did you know? The calorie content of this product is small - only 24 kcal per 100 g of product. Due to such a low energy value and high content of healthy minerals in beans, asparagus beans are often included in the diet of those who want to lose weight.
Nitrogen can not fertilize the plant at the flowering stage and the subsequent stages of development, as it can cause a strong development of the green part of the plant and leave the host without fruits.
Diseases and pests: prevention and treatment
Most often the asparagus beans are sick: 


Protection from these ailments is easy. All that is needed is to properly care for the plant, to clean the diseased plants in time, to decontaminate the sown seeds.
To prevent these diseases, limestone must be poured into the soil. To prevent the plant from contracting fungal and viral diseases, it is best to treat it with drugs with a high copper content.
Often these beans are attacked by slugs, and if we remove the weeds from the site in time and constantly feed the earth with moisture, they will not get to the plant. If, even in this case, the slugs appeared, they just need to be removed.
Harvesting and storage
Asparag bean requires frequency and regularity in the collection, as it can rehash and become too hard. In addition, if you collect it all the time, new ovaries form and the beans grow again and again until the first frost appears.
The ovary on these beans appears when it takes 2-3 weeks after the flowering period. 10 days after the appearance of the ovary, it will be possible to evaluate the first harvest This culture will not be able to be collected in a massive way, only by choosing the ripest among all the pods. 
Important! Overripe fruits of asparagus beans will not be so tasty, because they are recommended not to tear off, and leave to dry. After drying, they can be torn off and stored for the next year, after drying the beans.
The shelf life of fresh asparagus beans is very short, so if you need to keep the beans for the winter, you have to freeze them. It is most convenient to cut the bean pods into pieces of the desired size, put them in a bag or tray and place them in the freezer.
Keeping beans selected for seed is also fairly simple. After stripping dry pods need to be dried, and then select the grains from them. They are stored in the refrigerator, not in the freezer, although for many it is well preserved in room conditions.
Asparagus beans - one of the crops, the care of which does not exhaust the gardener. Nothing special and supernatural do not have to, but you can enjoy such a useful diet product in winter and summer.  All this will incline any gardener in the direction of growing these beans on your site.